
Read Next
10 Action In Nature Quick Tips
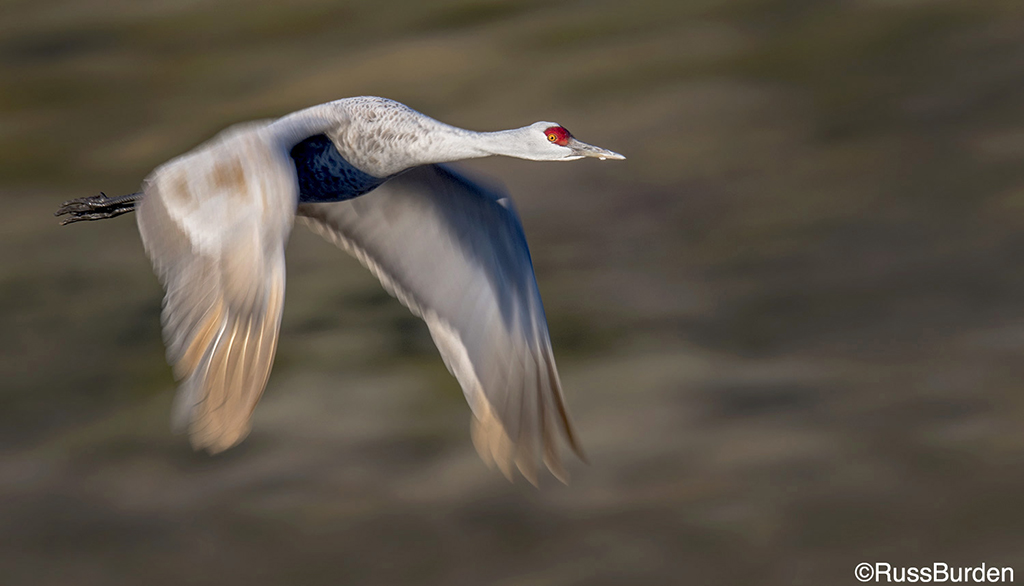
As you know, nature photography isn’t...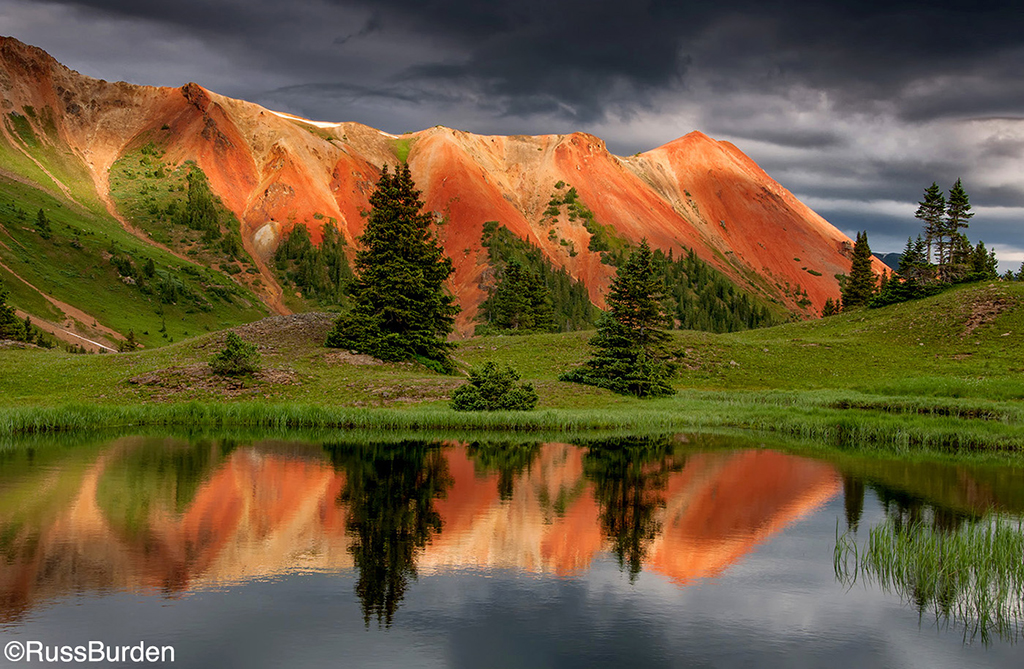
Critically Sharp Captures
To obtain excellent-quality, tack-sharp...
Get Drenched In A Downpour Of Pixels
Get Drenched In A Downpour Of Pixels
Over 70 percent of the Earth’s...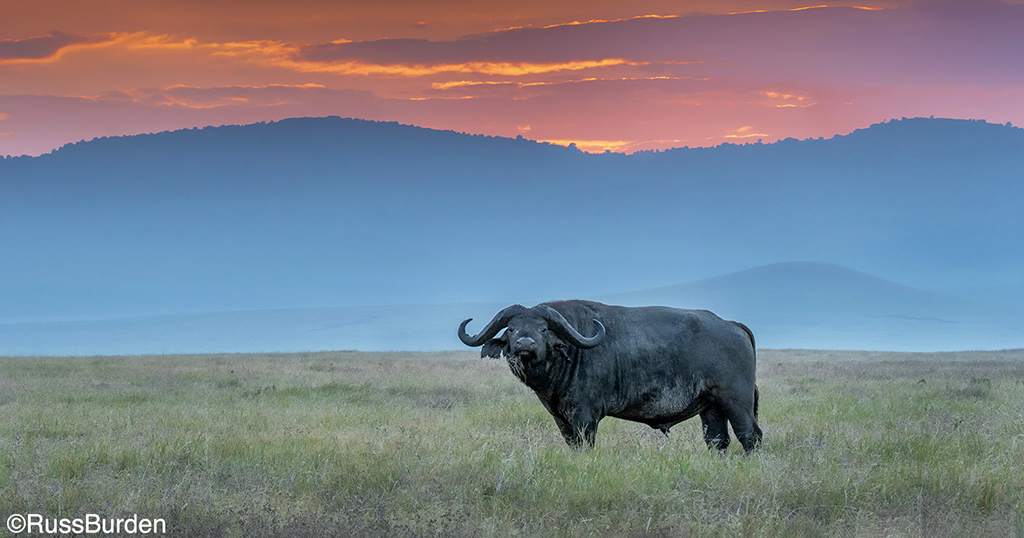
Go With The Digital Flow
Just like shooting with film, prepare for a digital shoot by packing all the gear you’ll need in the field. While shooting, you’ll be doing things that are completely unique to digital, like reviewing your images on the spot and adjusting the white balance. After you transfer your images to the computer, you can browse and organize them before optimizing your pictures in the digital darkroom.
You’ll be handling a lot of images, so you want to keep them organized and secure in an archive system, burning them to CDs or secondary hard drives. You’ll also want to share your beautiful photos, which you can do by creating slideshows on DVDs, e-mailing the images, printing them and much more.
You may already be familiar with many of these steps, but it’s important to put them all together into one cohesive process. We’ve created a template to help you develop your own digital workflow. It isn’t a strict procedure that needs to be followed exactly; it’s a flexible routine that should be adjusted to fit your needs as a photographer.
1 Pack Appropriate Gear. Don’t forget to take camera(s), lenses, filters, flashes and other accessories, such as a tripod and lens-cleaning supplies.
2 Check Batteries. Digital cameras use up a lot of battery power, so bring plenty of fully charged batteries as well as a battery charger.
3 Include Several Memory Cards. It’s a good idea to carry two or three for backup in addition to the one in your camera. Before going on your shoot, format all your cards.
4 Plan For Field Storage. If you bring a laptop for downloading, make sure the appropriate software is already installed and the hard drive can handle all your images. Pack a card reader to transfer the images to CDs for backing them up (your laptop should have a CD burner). Portable hard drives or CD burners that download directly from memory cards
are lighter and quicker alternatives to a laptop.
5 Clean The Sensor. To minimize the problem of dust and dirt interfering with your images, check the sensor before every shoot. Take a picture of the sky and look for out-of-focus, dark blobs. They’re caused by dust that needs to be removed. Because it’s highly sensitive, follow the instructions from your camera manufacturer on how to best clean your sensor without damaging it.
6 Set Up Your Controls. Adjust the settings to match your objectives for a particular trip, including image quality, white balance, color space, ISO speed and processing parameters.
1 Set White Balance. Choose your white-balance settings based on the conditions and your color preferences. Choose presets most of the time and use auto white balance only for casual shooting.
2 Set Autofocus Controls. Especially for wildlife photography, be sure to set either single shot or continuous mode, depending on what you want, before you start photographing an important subject.
3 Set Other Functions. Consider how adjusting the me-tering modes, exposure modes and custom functions that are available in your camera can affect your particular shoot-ing situation.
4 Review Your Image. The LCD allows you to see your image immediately and make any necessary improvements. If you nailed it, move on. The histogram, which displays the brightness levels of an image, is a valuable tool in determining whether you got the correct exposure.
5 Edit Images. As you capture and review your images, protect the ones you like and delete the ones you don’t. These initial selections can save you time and storage space when you go to work on your photos on the computer.
1 Designate A Transfer Location. Before downloading, designate a folder on your computer where your images will be saved so you know exactly where to find them later. Naming folders by shooting date or photography location is convenient for finding images.
2 Transfer Images Using A Card Reader. Insert your memory card into a card reader, which functions as another drive on your computer. You then can either drag and drop images into the right folder or use the computer’s auto downloading features, which usually are slower. Don’t use your memory card as a working file folder, however, since images on your
hard drive can be accessed and viewed faster and easier.
(OR)
3 Transfer Images By Connecting Your Camera. If you don’t have a card reader, you can connect the camera directly to the computer. This is usually a slower and less convenient process. Your camera must be turned on and have sufficient battery power to complete the transfer.
NOTE: We recommend you use a card reader for greater ease and reliability. A card reader can stay connected to your workstation at all times, and there’s no need to plug and unplug it every time you want to download images, as you would have to do with a camera. Transfer times also are typically faster with a card reader. Cameras are made to take pictures; card readers are made to transfer them.
1 Sort Through Images. Image-browsing software allows you to quickly view many images at once as thumbnails without having to wait for the full-sized images to open.
2 Print Contact Sheets. A good way to scan your batch and decide which ones to keep and which ones to delete is to print contact sheets, pages of several small images per page. Most browsing software has this feature.
3 Navigate Through Your Images. Select and rename the good shots and delete the unwanted shots. Attach comments or captions, assign keywords so you can search for them later, and use other devices to identify and organize the images.
A common option is ranking your images so you can group, view and edit them based on their quality or importance.
4 Separate Selects. Copy and paste the images you’d like to edit further to a separate folder than where your originals are saved. That way, when you’re looking for the final, edited version of an image, you don’t have to browse through the entire batch to find it.
1 RAW Files. If you shot your images in RAW, open them up in your RAW file converter and make the overall adjustments before converting them to a working file format, such as TIFF or PSD, the native file for Photoshop. In your image-processing program, reevaluate the converted files for brightness, contrast and color, then continue the process below.
2 Evaluate Photos. When you open your images in an image-processing program, assess each one as a photograph to see if any adjustments need to be made. Before you start altering images, use the Save As command to save them as TIFF files or other file types appropriate to your program, for instance, PSD. The JPEG format should only be used to capture and archive images, not to process them.
3 Make Overall Adjustments. Adjust the brightness and contrast of the entire image using Levels to check your black-and-white points, then correct midtones. Check the tonal range and color in your photograph, using familiar colors like the sky, grass and trees as reference points.
4
Make Local Adjustments. Using selections and layers, correct isolated problems in the photo, such as the color of one flower or the lighting in a certain area.5 Save As Master. Save your adjusted image with all of the layers and designate it as your master copy. From the master, you can crop, resize, sharpen and apply other finishing tasks that suit your output needs.
6 Flatten Image. Make a flattened TIFF file for resizing, save it separately, then sharpen. Always sharpen the image last because resizing changes the makeup of the data and will affect how sharp or soft the image will look.
1 Have Multiple Backups. At the very least, back up your original image files as well as your edited master files on a second hard drive and on a separate medium. External hard drives and recordable CDs and DVDs are excellent storage mediums you can use to archive images.
2
Choose A Medium. The most common way to back up image files is burning them onto CDs because they’re familiar and inexpensive, but their limited storage capacity is a downside. DVDs can store several gigabytes of data. Both are available in archival formats that last more than 80 years. External hard drives also offer lots of space, but can become unreadable over time due to the fading of magnetic data.3 Clean House. Delete all the unnecessary copies of your images from your hard drive before archiving. Removing these will give you more space on your storage medium, reduce the number of files you have to keep track of and make it easier to search for specific images.
4 Organize. Rename and rearrange your files as needed to make images easy to identify and locate once they have been archived. Cataloging or indexing your files also is helpful in making your images easy to access. A spreadsheet can be saved and updated on your computer, or you can print out indexes and contact sheets for each CD and keep them in a binder. Most image-processing programs have features that can help you categorize, index and search for your images within a database, plus there are stand-alone programs specifically designed for image databases.
1 Choose Your Output. Digital technology has expanded output to mean more than just printing; it can mean e-mailing, creating slideshows, posting to a website or a host of other options. Ideas for output continue to develop, so spend some time exploring all the options out there.
2 E-mail. For e-mail, digital files need to be resized and compressed. Be aware that many e-mail accounts have a limit to the file size you can send and receive. Images also need to be adjusted for use on a website.
3 Create Shows. There are software programs and web-based services that allow you to create multimedia presentations that can be saved onto DVDs for sharing. Slideshows, online albums and personal Web pages also are creative ways to share your images.
4 Print. New technology has made printing at home easier, faster and more satisfying. Follow these steps for clear, sharp prints:
—Calibrate your monitor and printer for consistent and accurate color.
—Set the appropriate ppi for the size print you want.
—Choose the paper size and type, such as glossy, matte, fine art, etc.
—Set your printer driver.
—Print test images and record what adjustments you made so you can have them for future prints.